


Blog post about rigging and combining a mesh(skin) to a rig.
In this blog I will explain my findings of my research in which I tried to animate a model using rigging, FK and IK handles. I also tried the different bind options to combine the skin to the rig or skeleton of the body. The model I used is an exported model from Lectra and is made out of triangular faces.
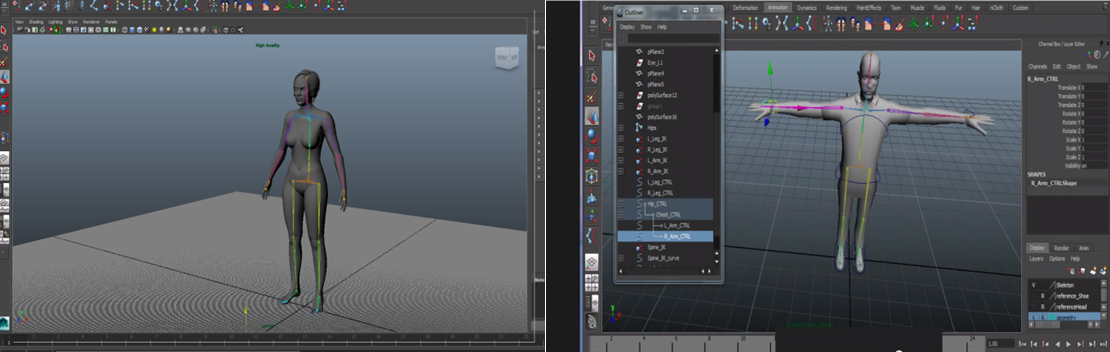
If you compare my model to the one on the right, the right one is ideally to rigging because it is easy to make the rig and when you combine the rig to the skin with the smooth bind option, almost every time you move a certain part of the rig, like the right upper arm, the parts of the skin that are meant to represent the upper arm, will move with it. With the pose my model has this is not the case, it also brings a bit of the torso with it because if is close to the upper arm. See picture below:
To solve this problem I tried to select the arms of my model, with the use of face selection and then rotating the arm to a ‘T’ position, illustrated on the right picture. It was a lot of work to select only the arm and therefore it took a lot of time. When rotating and positioning the arm a few faces rotated into the body and stretched out. The model wasn looking as nice and smooth as it was, so this method didn’t solve the problem. See the method described below with the use of pictures and all steps.
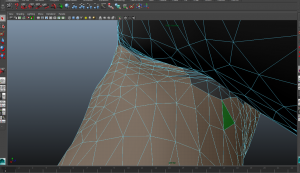
Selecting all triangular faces that make out the arm.
Default position. As you can see the skin is very smooth and realistic to a real body shape.
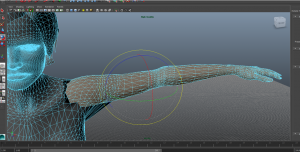
Rotating and positioning the arm until I reach the Ideal t- position to animate more easily.
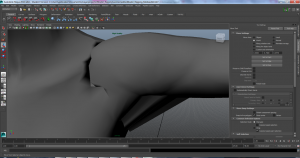
The result is terrible as you can see.
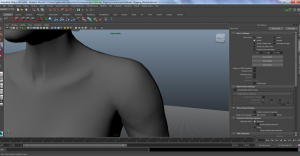
Another method I tried to solve the problem is the use of painting weights, so you can tell Maya which parts of the skin to move when moving a centain join, like the arm that I just showed, with the use of paint. See picture below to illustrate:
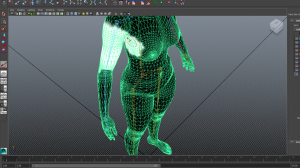
When painting the weight until only the part I want to move is white and I make sure that the rest is black, I get a warning that some verticies have locked values, so I can’t manipulate them. I checked if this was so, but couldn’t find it, all the lockes shown in de painting weights tool settings were unlocked, so I could’s see where the problem lies. See the picture below what happened when I painted the wright region for the upper arm, lower arm and hand and then rotating is:
After Doing this several times I finally managed to get it working the right way. But then the other arm didn’t so I don’t like this method and searched for something else. I tried to set the range of influence smaller so it would not take a part of the torso with is, but then the range was to small to move the thicker hips and the upper leg as a whole. After painting a part I locked the influence and doing so I managed to get every part moving the wright way.
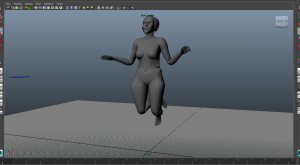
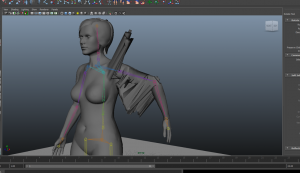
After the smooth skin bind, I tried the interactive skin bind, in which you work with range that you can choose for each part of the rig. The problem occurred this time that even though the part I wanted to move from the skin did move, not all the faces of that part moved as quick as the others, so you get a stretch effect. See illustration below:
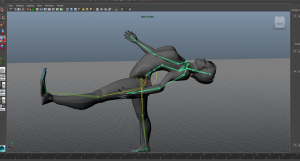
As you can see her left arm became stretched and thinner. Sometimes it is good to have some stretching in the body but not like this. After this I tried to adjust the amount of movement you get throughout the range of each part of the rig, so that the stretching doesn’t happen any more. This worked, but it is to hard to choose exactly what part you want to move, in which the weight paint skin tool is very good in.